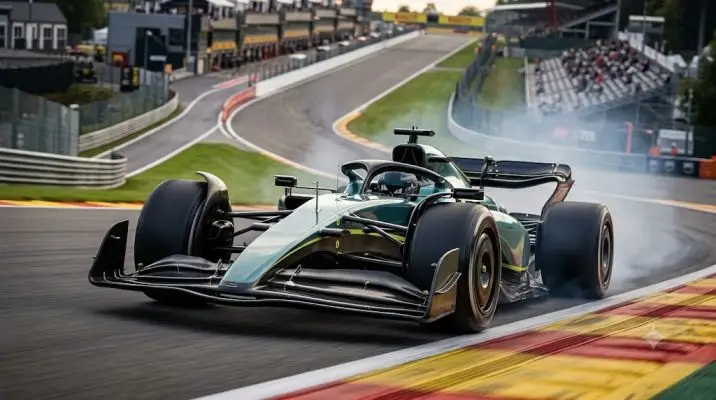
I have run hundreds of laps in F1 24 since launch. Some setups felt magical. Others made me want to throw my controller. The difference between a good lap and a great one often comes down to three-tenths of a second.
That is the gap a proper setup fills. The F1 24 setups you find online vary wildly. Some work. Some do not. The reason is simple. A setup built for one driver's style may feel undrivable for another.
This guide cuts through the noise. I will show you what actually matters for each track type, with real numbers you can use.
Why One Setup Does Not Work for Every Track?
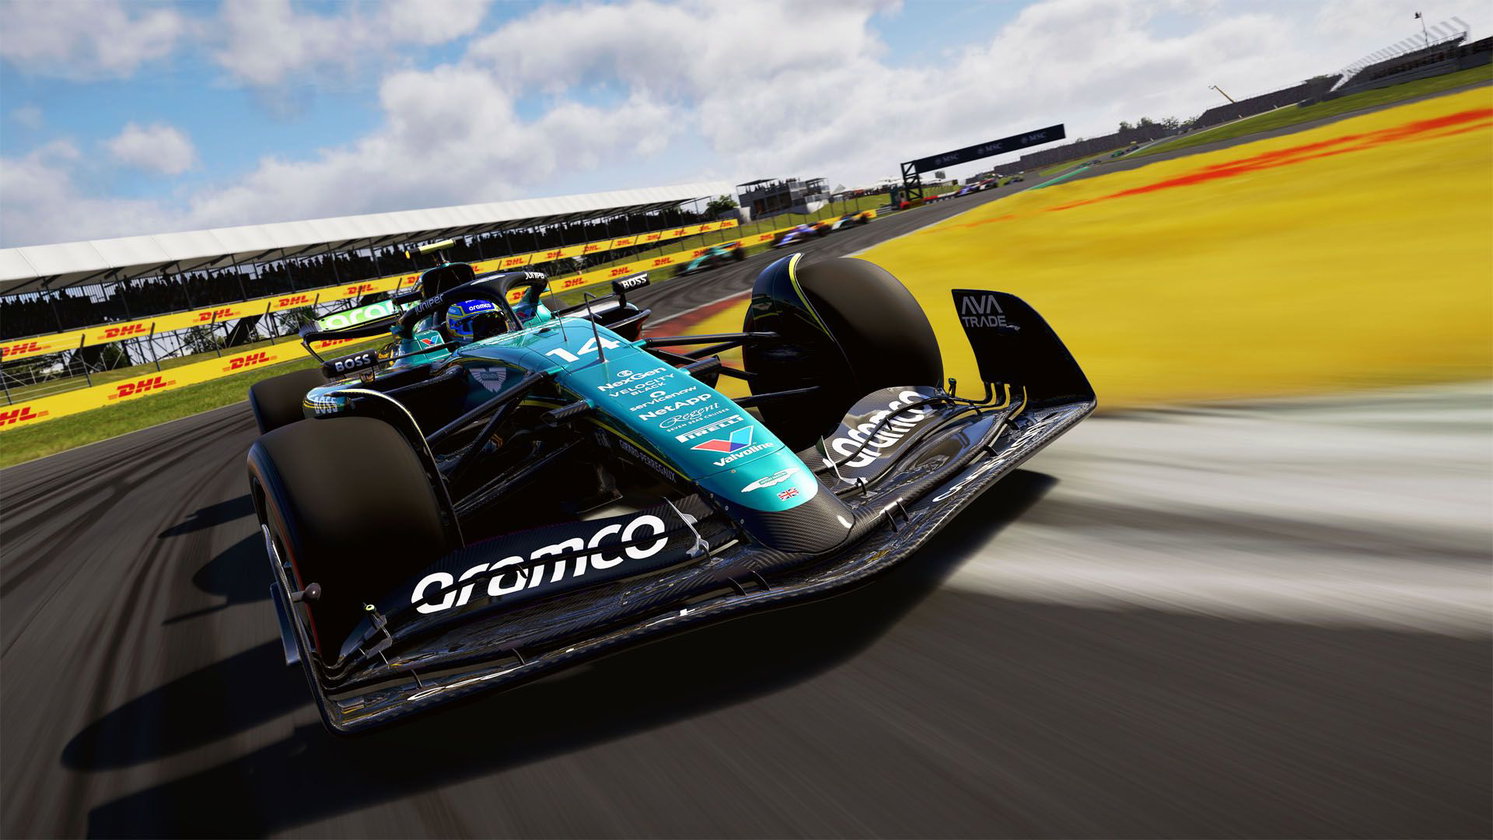
F1 24 has 25 circuits. Each one punishes different weaknesses.
Monza rewards low drag. Monaco demands maximum downforce. Bahrain sits somewhere in the middle, balancing straight-line speed with corner grip. A setup that wins at Monza will feel like driving on ice at Monaco.
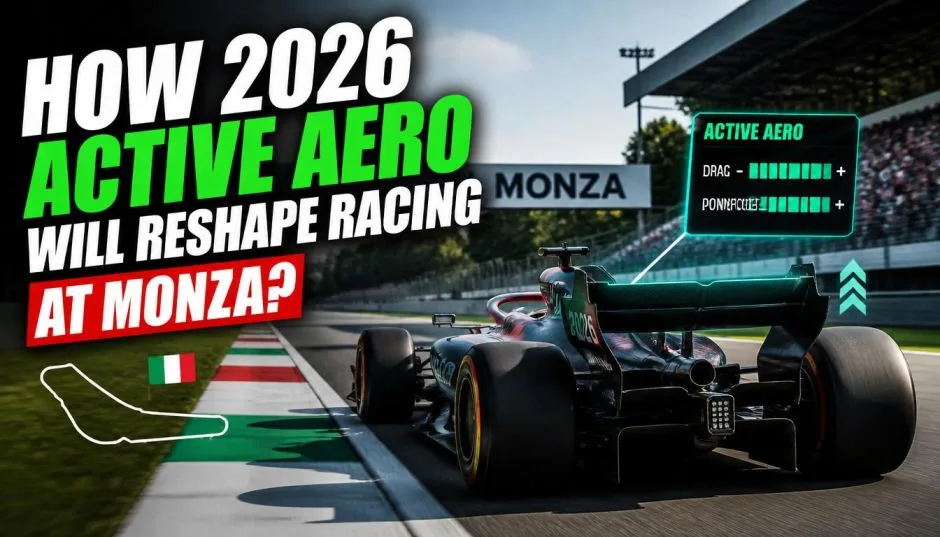
Read Also: How 2026 Active Aero Will Reshape Racing at Monza?
The game's Dynamic Handling system makes this more important than ever. Small changes to wing angles or suspension settings create noticeable differences in how the car behaves.
The Bahrain Setup: Balancing Speed and Grip
Bahrain International Circuit stretches 5.412 km with 15 turns and three DRS zones. The track punishes poor traction out of slow corners. It also rewards top speed on the main straight.
Here is a Bahrain setup that works for most drivers:
Aerodynamics: Front wing 32, Rear wing 32. This balance keeps the car stable without killing straight-line speed.
Transmission: On-throttle differential 55%, Off-throttle 55%, Engine braking 100%. The balanced differential helps exit slow corners cleanly.
Suspension: Front suspension 40, Rear suspension 5. A stiff front and soft rear setup suits Bahrain's mix of corners and straights.
Brakes: Brake pressure 100%, Front brake bias 60%. Higher bias toward the front helps with heavy braking zones.
Tyres: Front pressure 23.0, Rear pressure 20.5. Lower rear pressures put more rubber on the road for traction.
This setup prioritizes stability. It will not give you the fastest single lap. It will give you consistent laps over a race distance.
The Monaco Setup: Maximum Downforce Wins
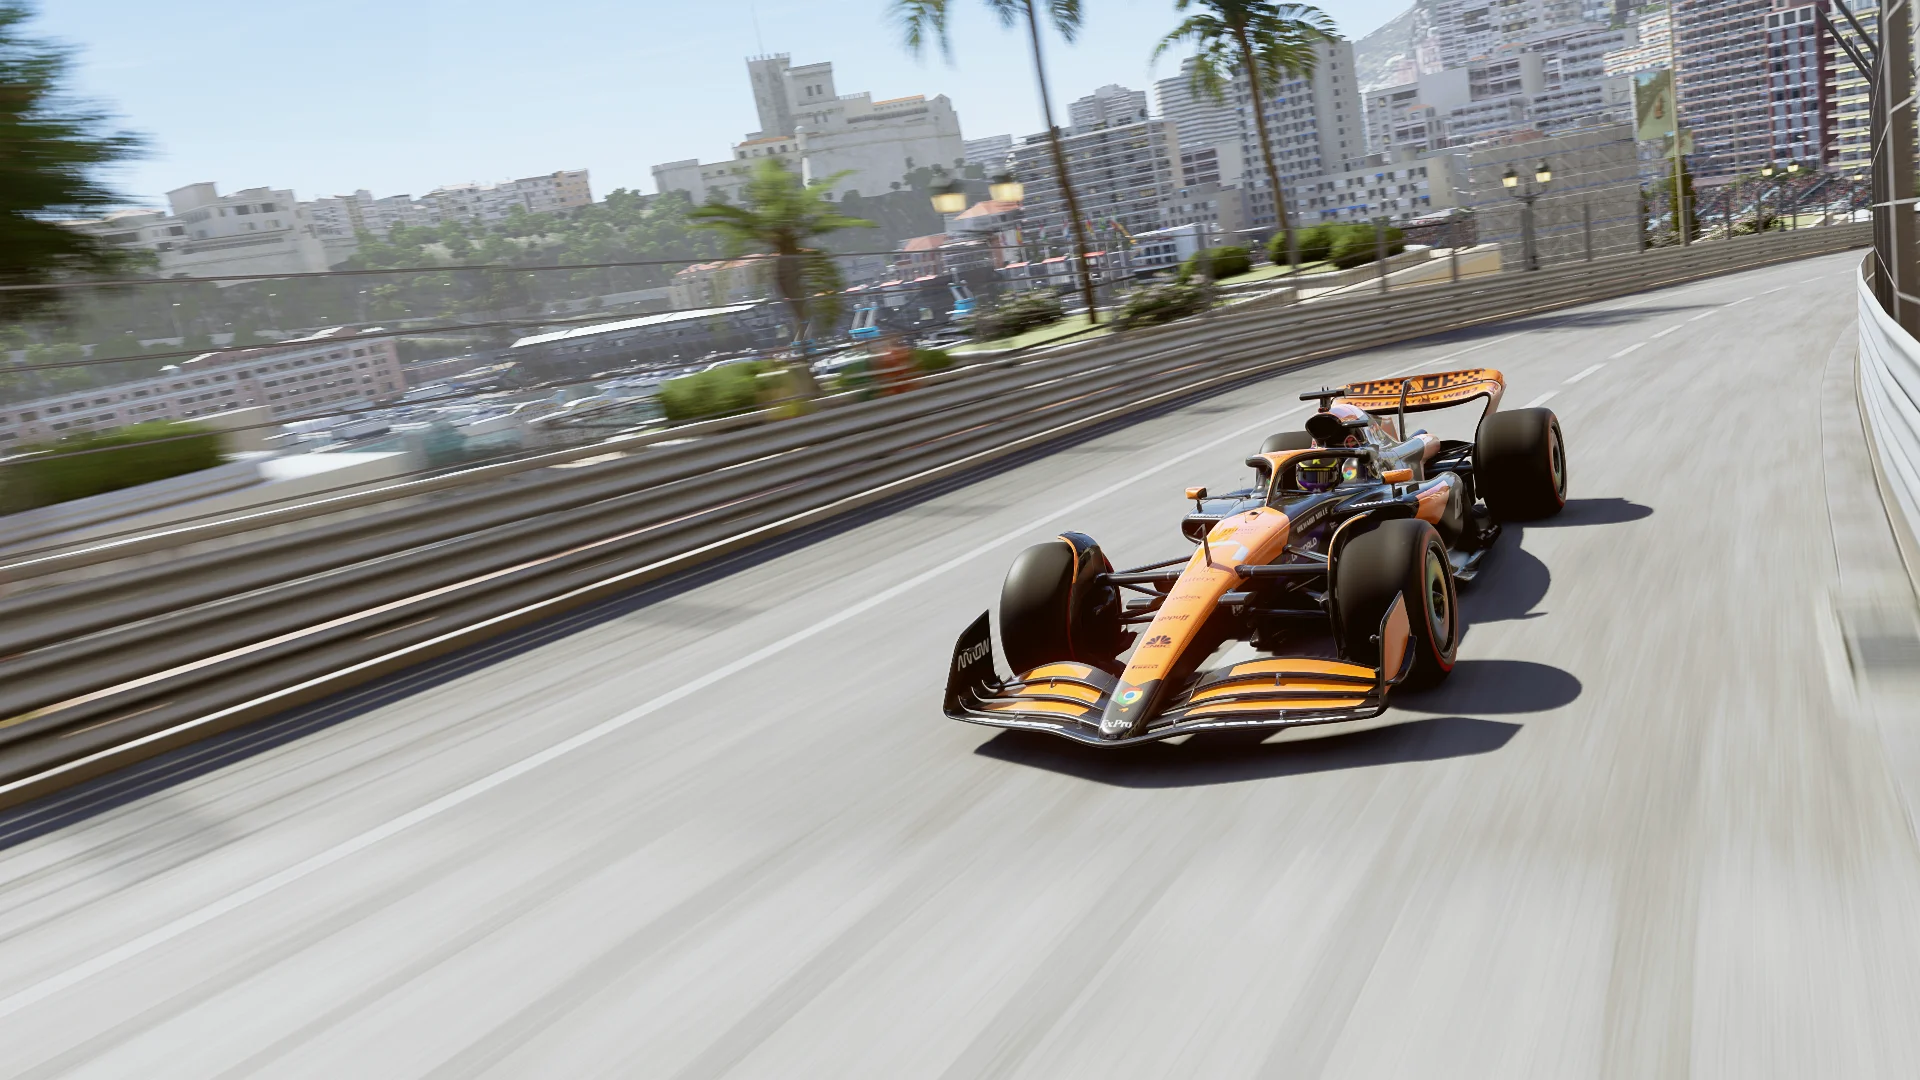
Monaco is the opposite of Bahrain. The track has no real straights. Every corner comes at you fast. You need maximum grip and a car that rotates quickly.
You Must Also Like: F1 2026 Replacement Tracks Bahrain Saudi: What You Know So Far?
The best Monaco setups push wing angles near maximum:
Aerodynamics: Front wing 48-50, Rear wing 47-48. You want all the downforce you can get without making the car feel stuck.
Transmission: On-throttle differential 50%, Off-throttle 55%, Engine braking 30%. A lower engine braking setting helps the car rotate into Monaco's tight hairpin.
Suspension: Front suspension 12, Rear suspension 7. Very soft settings let the car ride the kerbs without upsetting the balance.
Ride Height: Front 36, Rear 42. Monaco is bumpy. A slightly higher ride height prevents bottoming out.
Brakes: Brake pressure 100%, Front bias 55%. Standard settings work fine here.
The key at Monaco is rotation. You need the car to turn now. Any understeer costs you tenths you cannot recover.
High-Speed Tracks: Monza, Spa, and Silverstone
These tracks reward low drag. You want the car to slice through the air on long straights.
At Monza, drop your wing angles as low as you can handle. The front wing can go as low as 11, rear wing 4. This feels sketchy in corners. That is the tradeoff. You gain top speed at the cost of cornering confidence.
Spa and Silverstone need a bit more balance. You still want low wings, but not so low that the car becomes unpredictable in medium-speed corners.
Street Tracks: Singapore, Baku, and Vegas
Street circuits punish mistakes. Walls sit close. Runoff areas barely exist.
These tracks need higher downforce than you might expect. Singapore's Marina Bay rewards a setup similar to Monaco, just with slightly lower wing angles for the few straights.
Baku mixes long straights with tight castle section corners. You need a compromise. Medium-low wings with stiffer suspension to handle the high-speed sections.
The Setup Mistake That Costs You Races
Most players copy time trial setups for races. That is a mistake.
Time trial setups prioritize one fast lap. They disable tyre wear and temperature. Race setups need to manage tyres over 20+ laps. A time trial setup might give you pole. It will also destroy your tyres by lap 10.
You will fade. You will lose positions. For races, soften the rear slightly. Lower your engine braking. Accept that you might be a tenth slower per lap. That tenth keeps your tyres alive.
How to Tune Setups for Your Driving Style?
Setup guides give you a starting point. They are not gospel.
McLaren F1 Esports driver Wilson Hughes said it best. The difference between a good and bad setup is about three-tenths per lap. But the setup must feel right to you.
If a setup feels twitchy, add rear wing. If it understeers, increase front wing or soften front suspension. If the rear slides on exit, increase on-throttle differential.
Change one thing at a time. Run five laps. Note the difference. That is how you learn what works for you.
Quick Reference: Key Settings Explained
Wing angles: Higher = more grip, less speed. Lower = more speed, less grip.
On-throttle differential: Higher = more traction, less rotation. Lower = more rotation, easier exits.
Engine braking: Higher = more ERS charge, more oversteer. Most pros max this out.
Ride height: Lower = better aero, risk of bottoming. Higher = safer on bumps, less downforce.
Brake bias: Higher = more front braking, better for heavy braking zones. Lower = more rear braking, helps rotation.
Tyre pressures: Higher = faster warmup, less grip. Lower = more grip, slower warmup.
The Final Thoughts
The best F1 24 setup for each track starts with the right wing angles and differential settings. Bahrain wants balance. Monaco wants downforce. Monza wants low drag.
But the numbers matter less than how the car feels to you. Start with the setups in this guide. Adjust one setting at a time. Trust your instincts over any guide. That is how you find the three-tenths that separates a good lap from a great one.